By Gary Crispell, NC State Extension Master Gardener SM volunteer of Durham County (aka the Accidental Cottage Gardener) Images by Marcia kirinus unless stated otherwise.
It appears that Fall has fallen, or at least dropped in for a spell. It appears that Fall has fallen, or at least dropped in for a spell. Speaking of fallen, we finally got some much-needed precipitation. Since it was the first significant amount since July, it was very welcomed by the Accidental Cottage Garden.
A lot of the plants have given up flowering for the year, but several ain’t got no quit in ’em.
The zinnias (Z. elegans) and cosmos (C. bipinnata & C. sulphureus) have been magnificent all summer. They were looking a little peaked in June, but have bloomed their little hearts out since the July deluges. Some of them are in danger of being overtaken by some cypress vine (Ipomoea quamoclit), which is fine because I do love the little pure-red flowers.
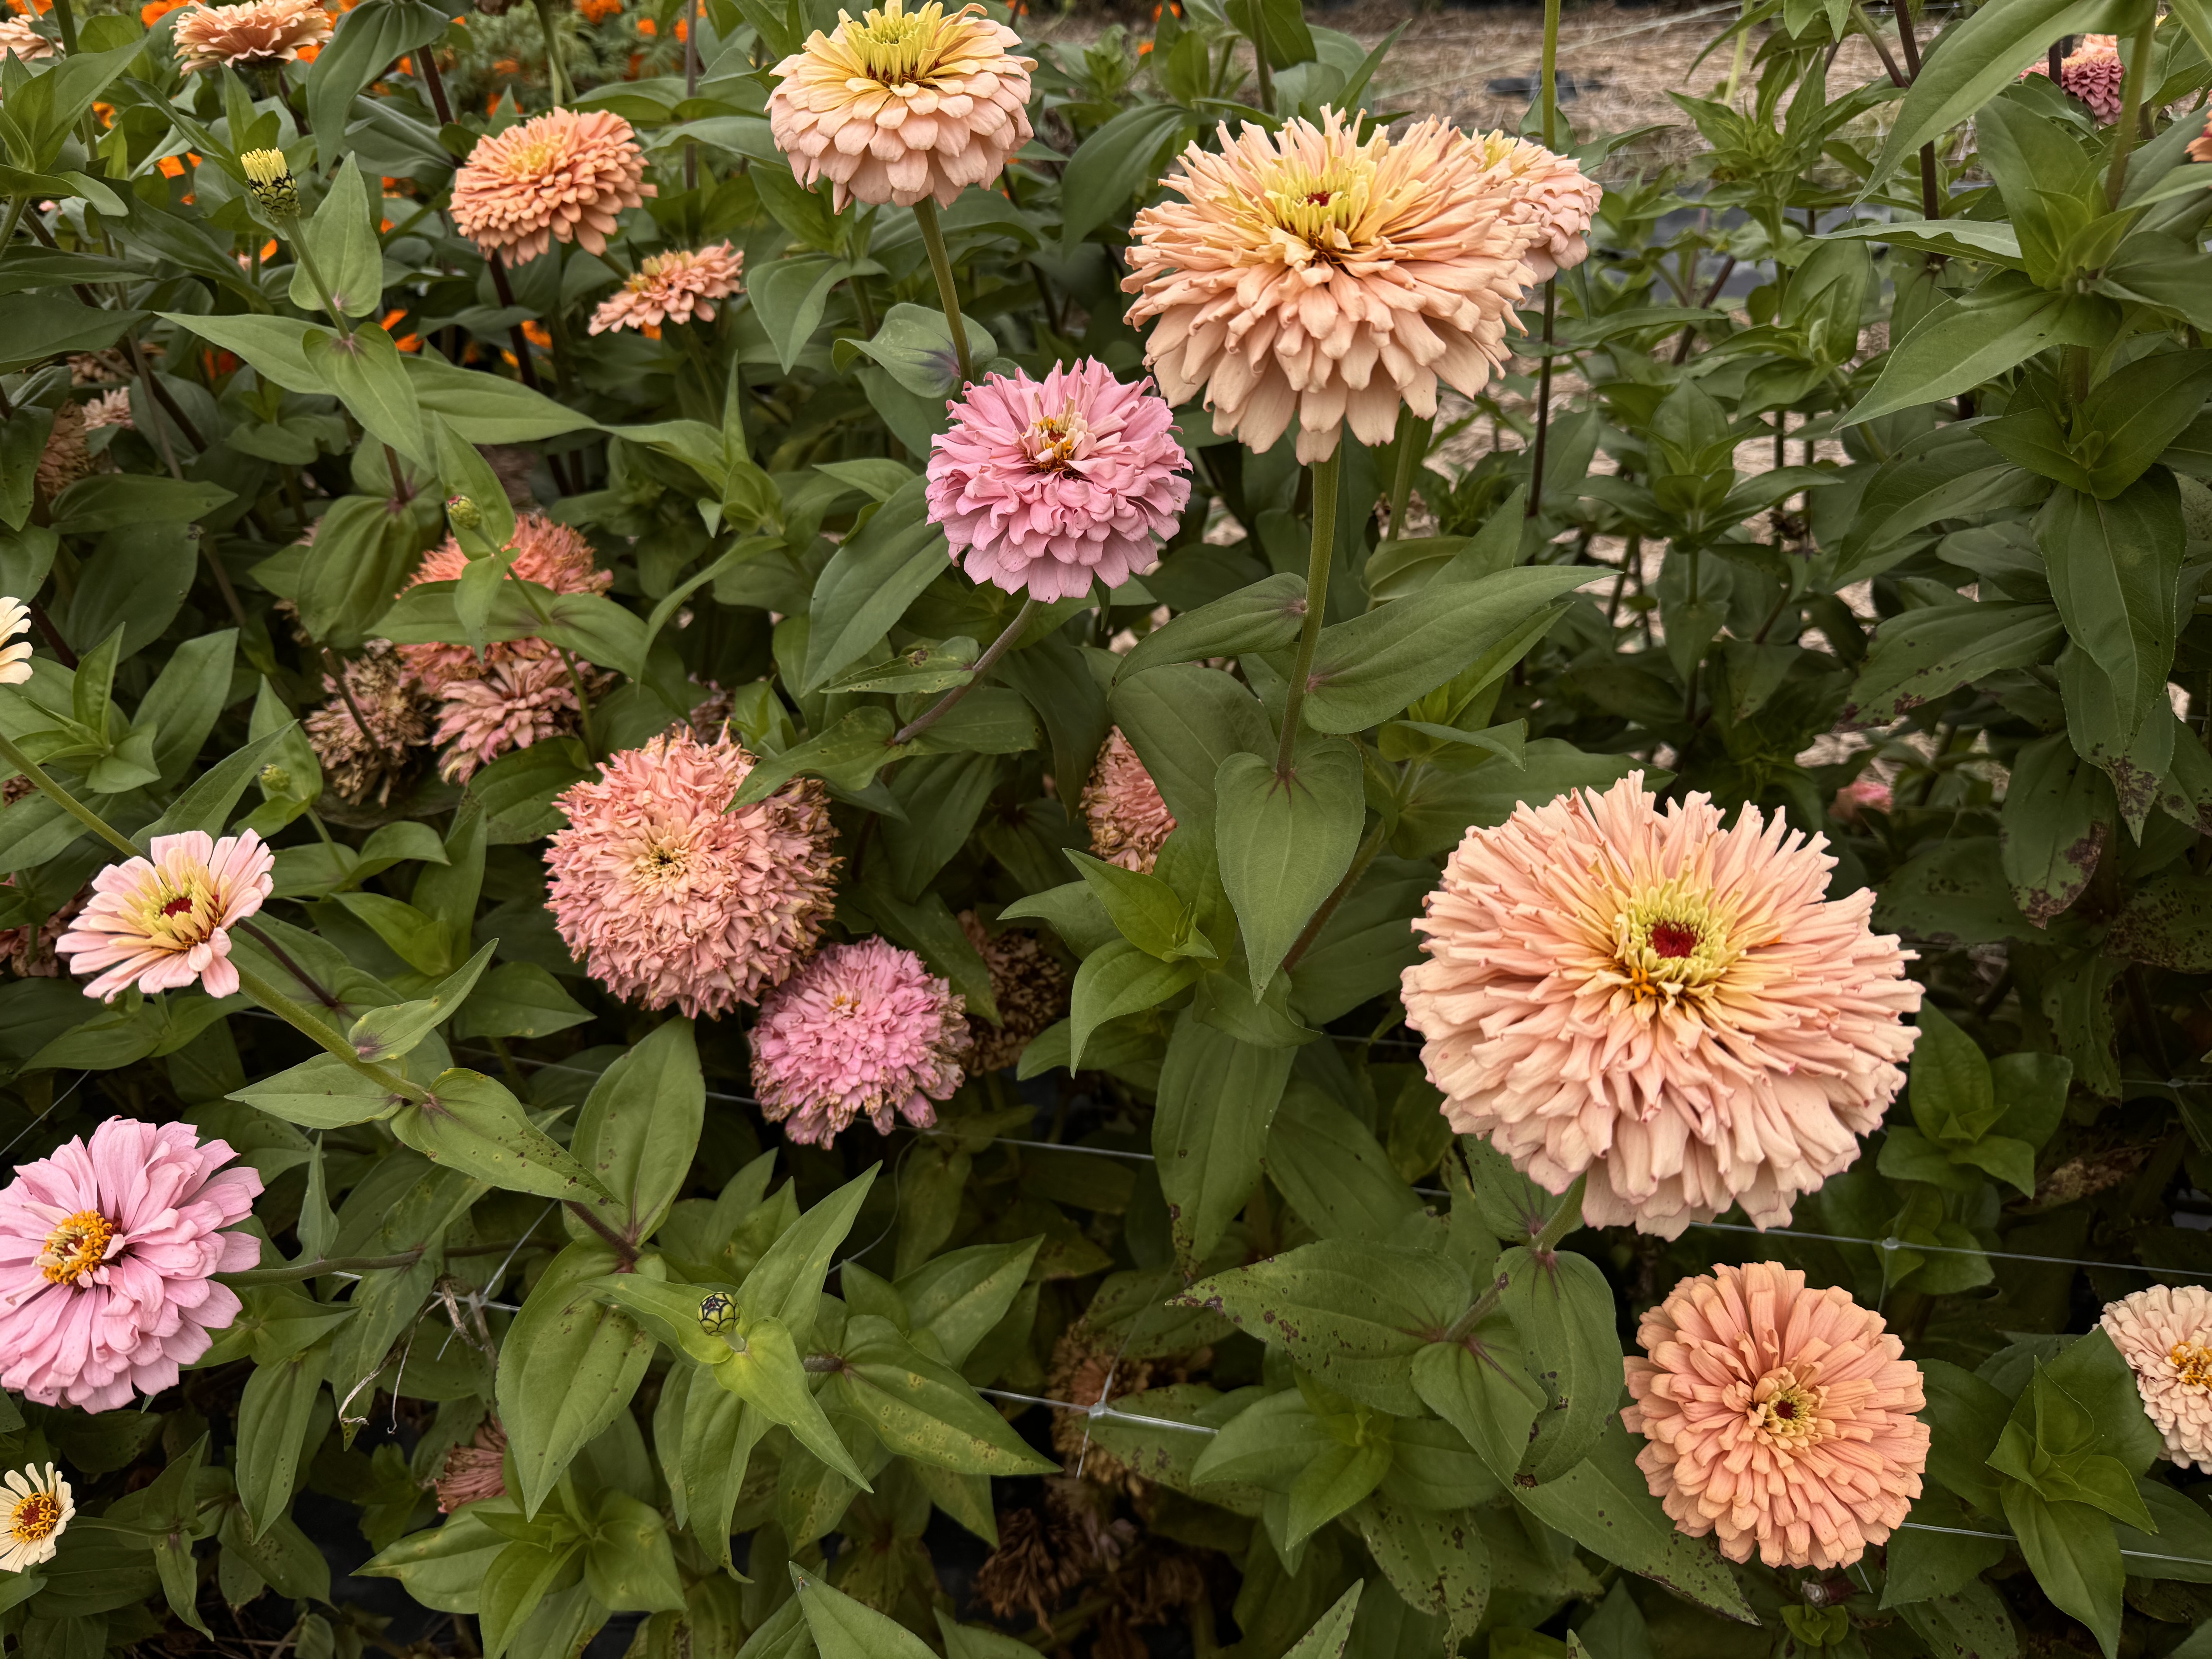
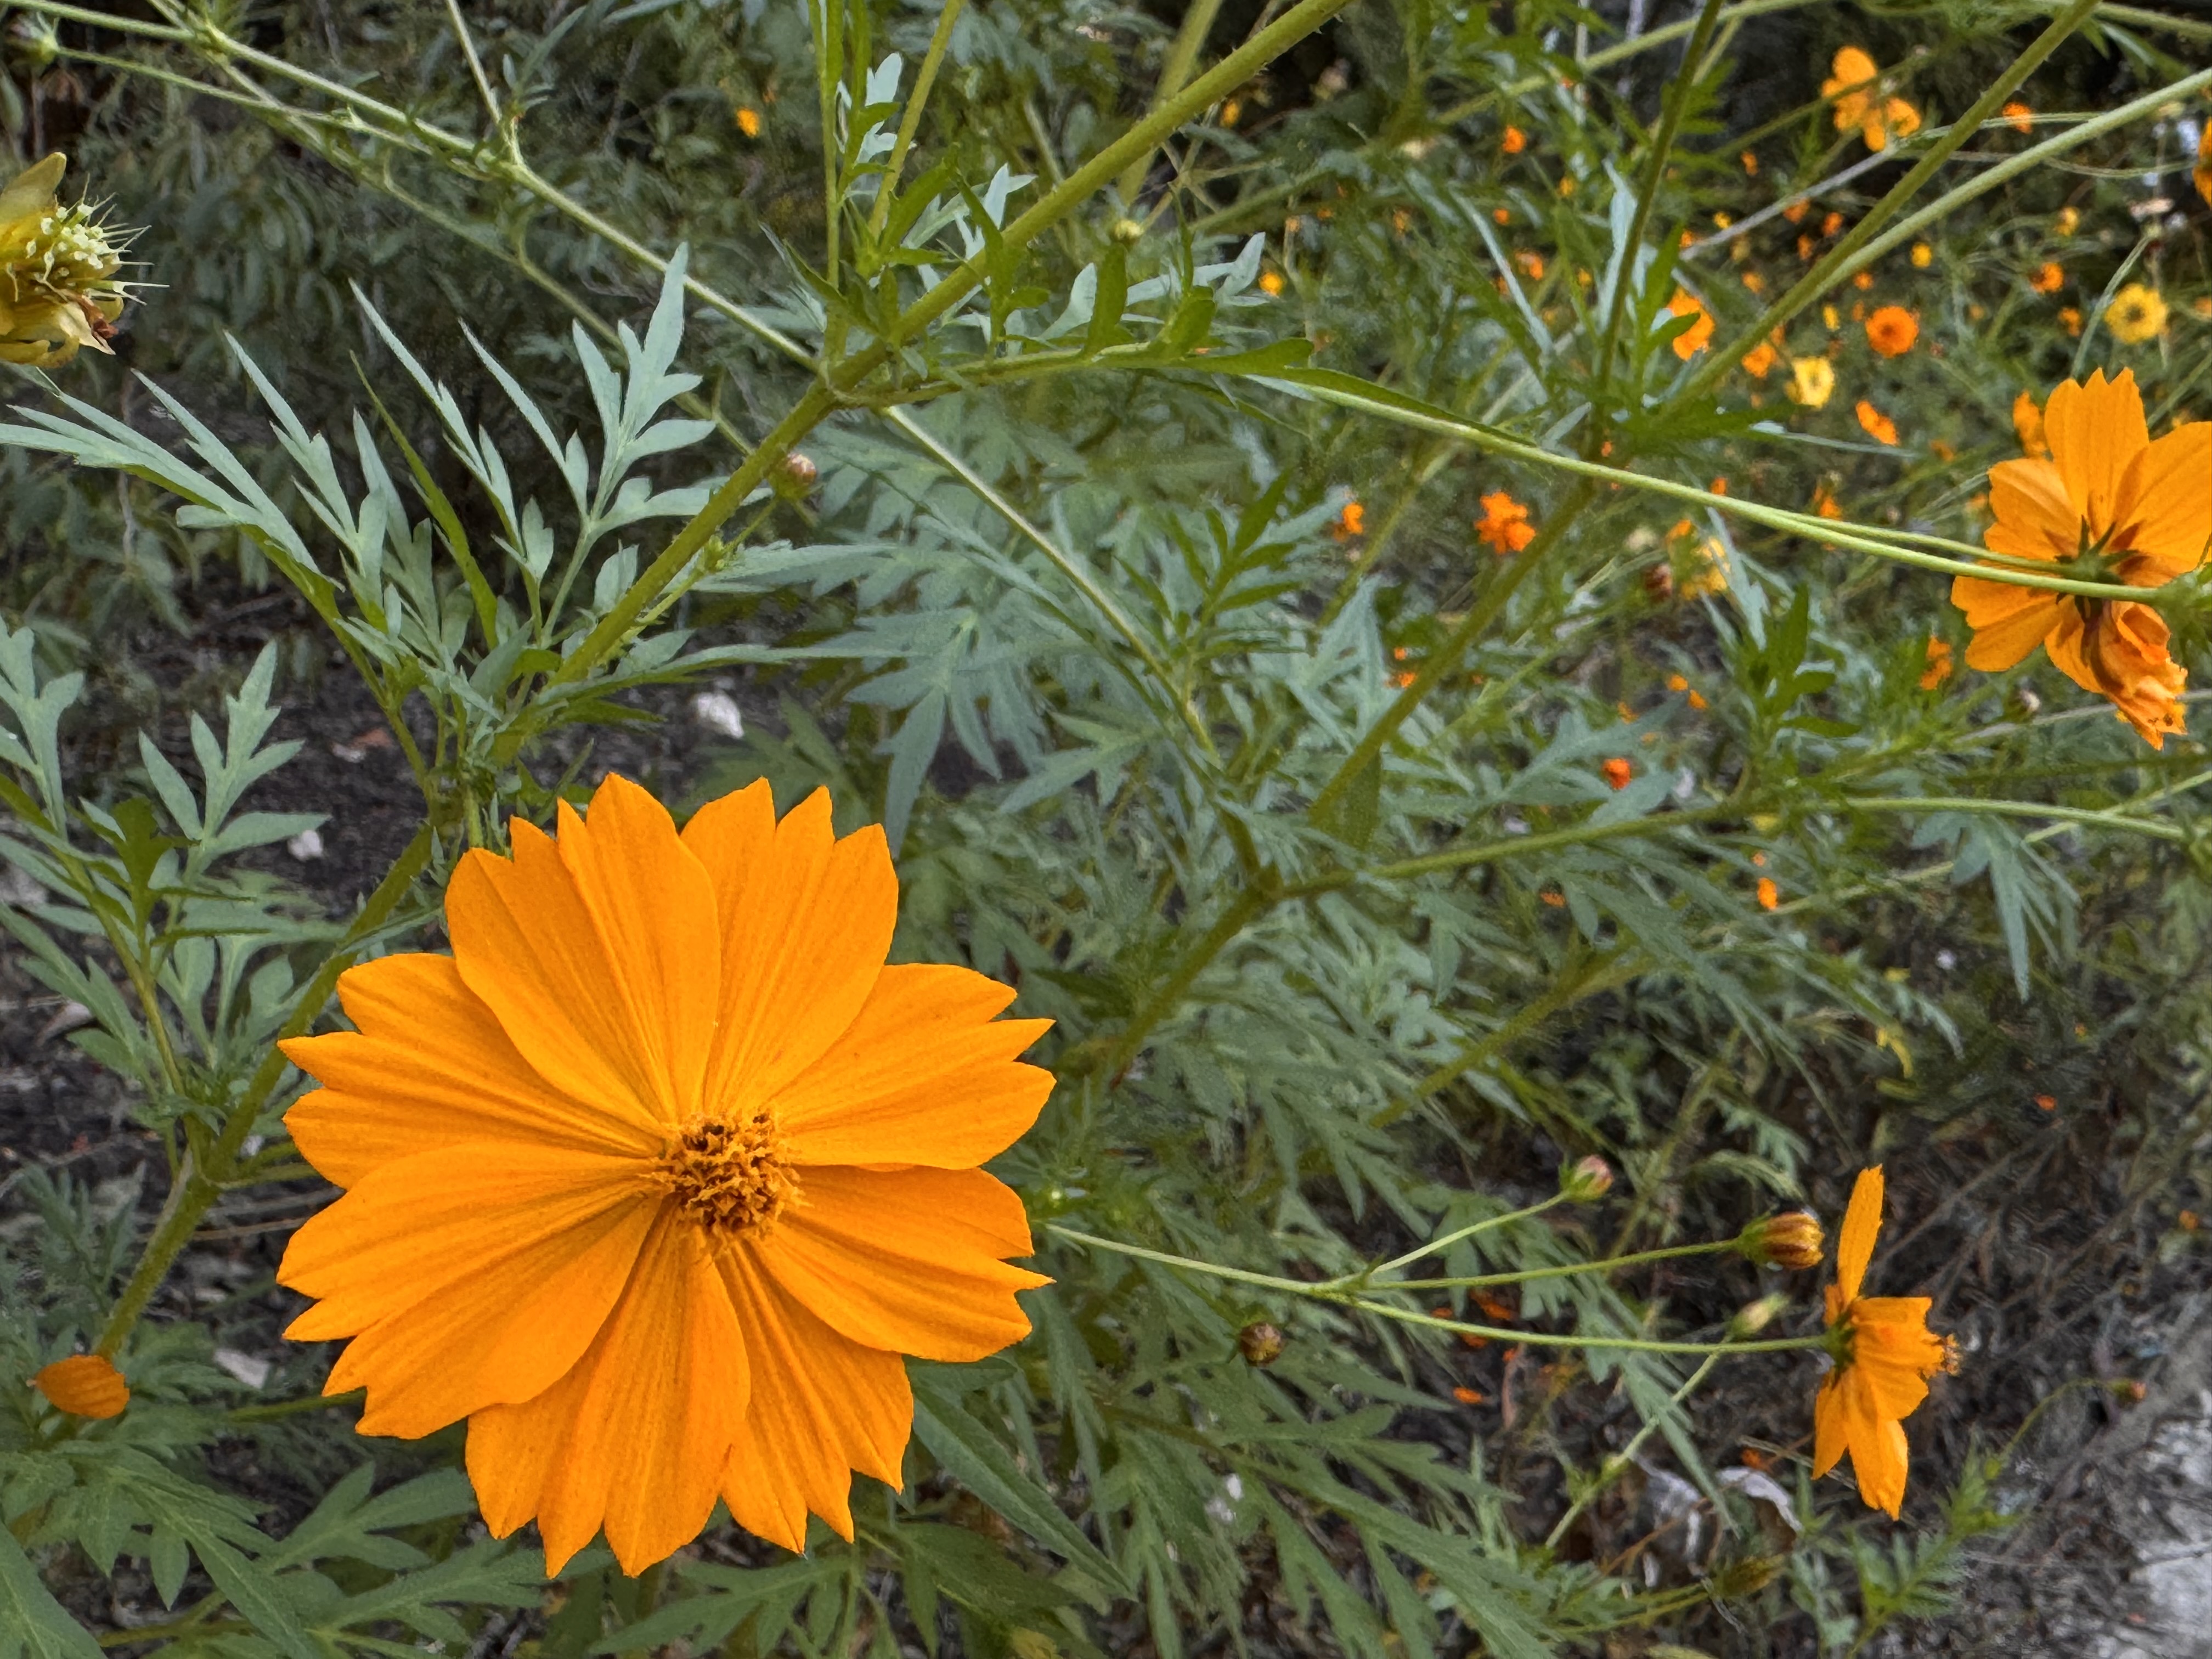
From left to right: Zinnia, (Zinnia elegans) Sulpher Cosmos (Cosmos sulphureus)
There are some orange coneflowers/black-eyed Susans (Rudbeckia hirta.) still gracing us with their yellow-orange vibrance, and a lone balloon flower (Platycodon grandiflorus) is trying to hold up the blues.

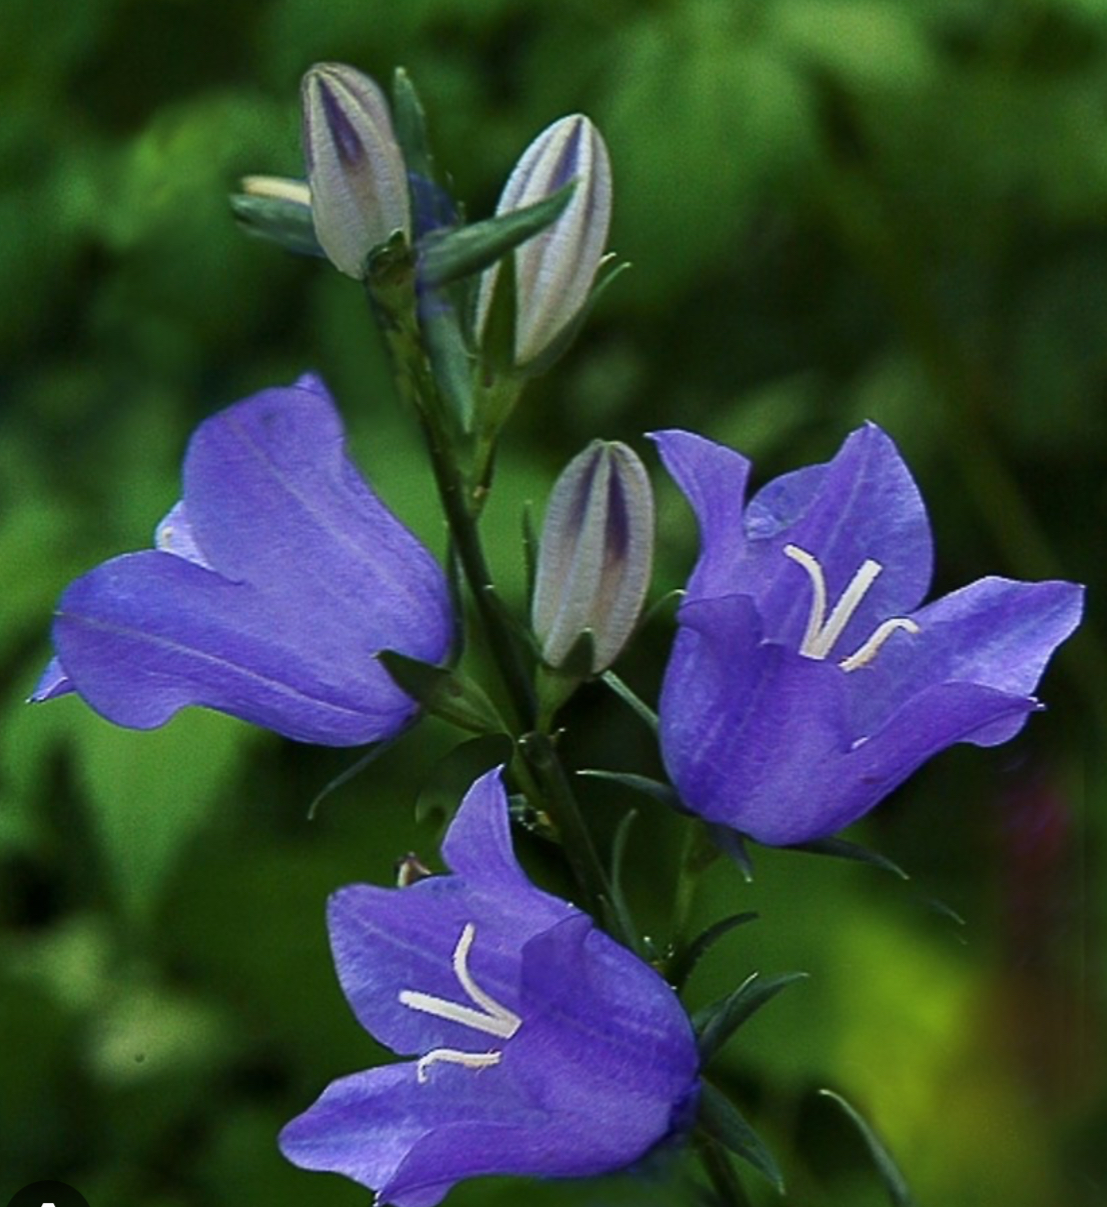
From left to right: Black-Eyed Susan, (Rudbeckia hirta) and Blue Bell Flower (Platycodon grandiflorus)
It has an abundance of assistance from the plethora of hardy ageratum/blue mist (Conoclinium coelestinum, formerly Eupatorium coelestinum) blossoms.

Blue Mist Flower, (Conoclinium coelestinum)
There is a smattering of purple coneflowers (Echinacea purpurea) still in bloom. Over the last couple of years, the goldfinches (Spinus tristis) (See, I am not a one-trick pony) have decided that three purple coneflowers were not enough, so they liberally (not in a political sense) sowed seeds around the yard. Now there are numerous purple coneflowers and numerous goldfinches. Everybody wins.
Oh, wait. This is supposed to be a gardening calendar. Heh. I may have gotten carried away (In your dreams!) Here at last is the calendar.
LAWN CARE
Keep leaves from accumulating on newly seeded or overseeded lawns.
Keep those same lawns moist until germination, then be sure they get 1” of water per week, ½” per watering.
Continue mowing cool-season lawns (fescue, bluegrass, perennial rye) at 3½” to 4”.
FERTILIZING
We are essentially done here except for spring-flowering bulbs (daffodils, tulips, crocuses, etc.). Incorporate a little balanced fertilizer (10-10-10 or equivalent) into the soil in and around the planting hole.
Store leftover fertilizer in a dry place for the winter.
PLANTING
FALL IS FOR PLANTING! It’s the truth in this part of the world. It is especially true for containerized and B&B (balled and burlapped) nursery material (trees and shrubs). Planting them now gives them the opportunity to grow sufficient roots to withstand our now-inevitable summer dry spells.
Want some color through the winter? Think pansies. This hardy member of the Viola genus will cheerily grace your yard with an almost endless display of delightful color throughout the winter. The sooner you plant them, the more able they will be to survive the coldest North Carolina nights. One caveat: deer find them irresistible. They’re like dessert after a hearty meal of azaleas.
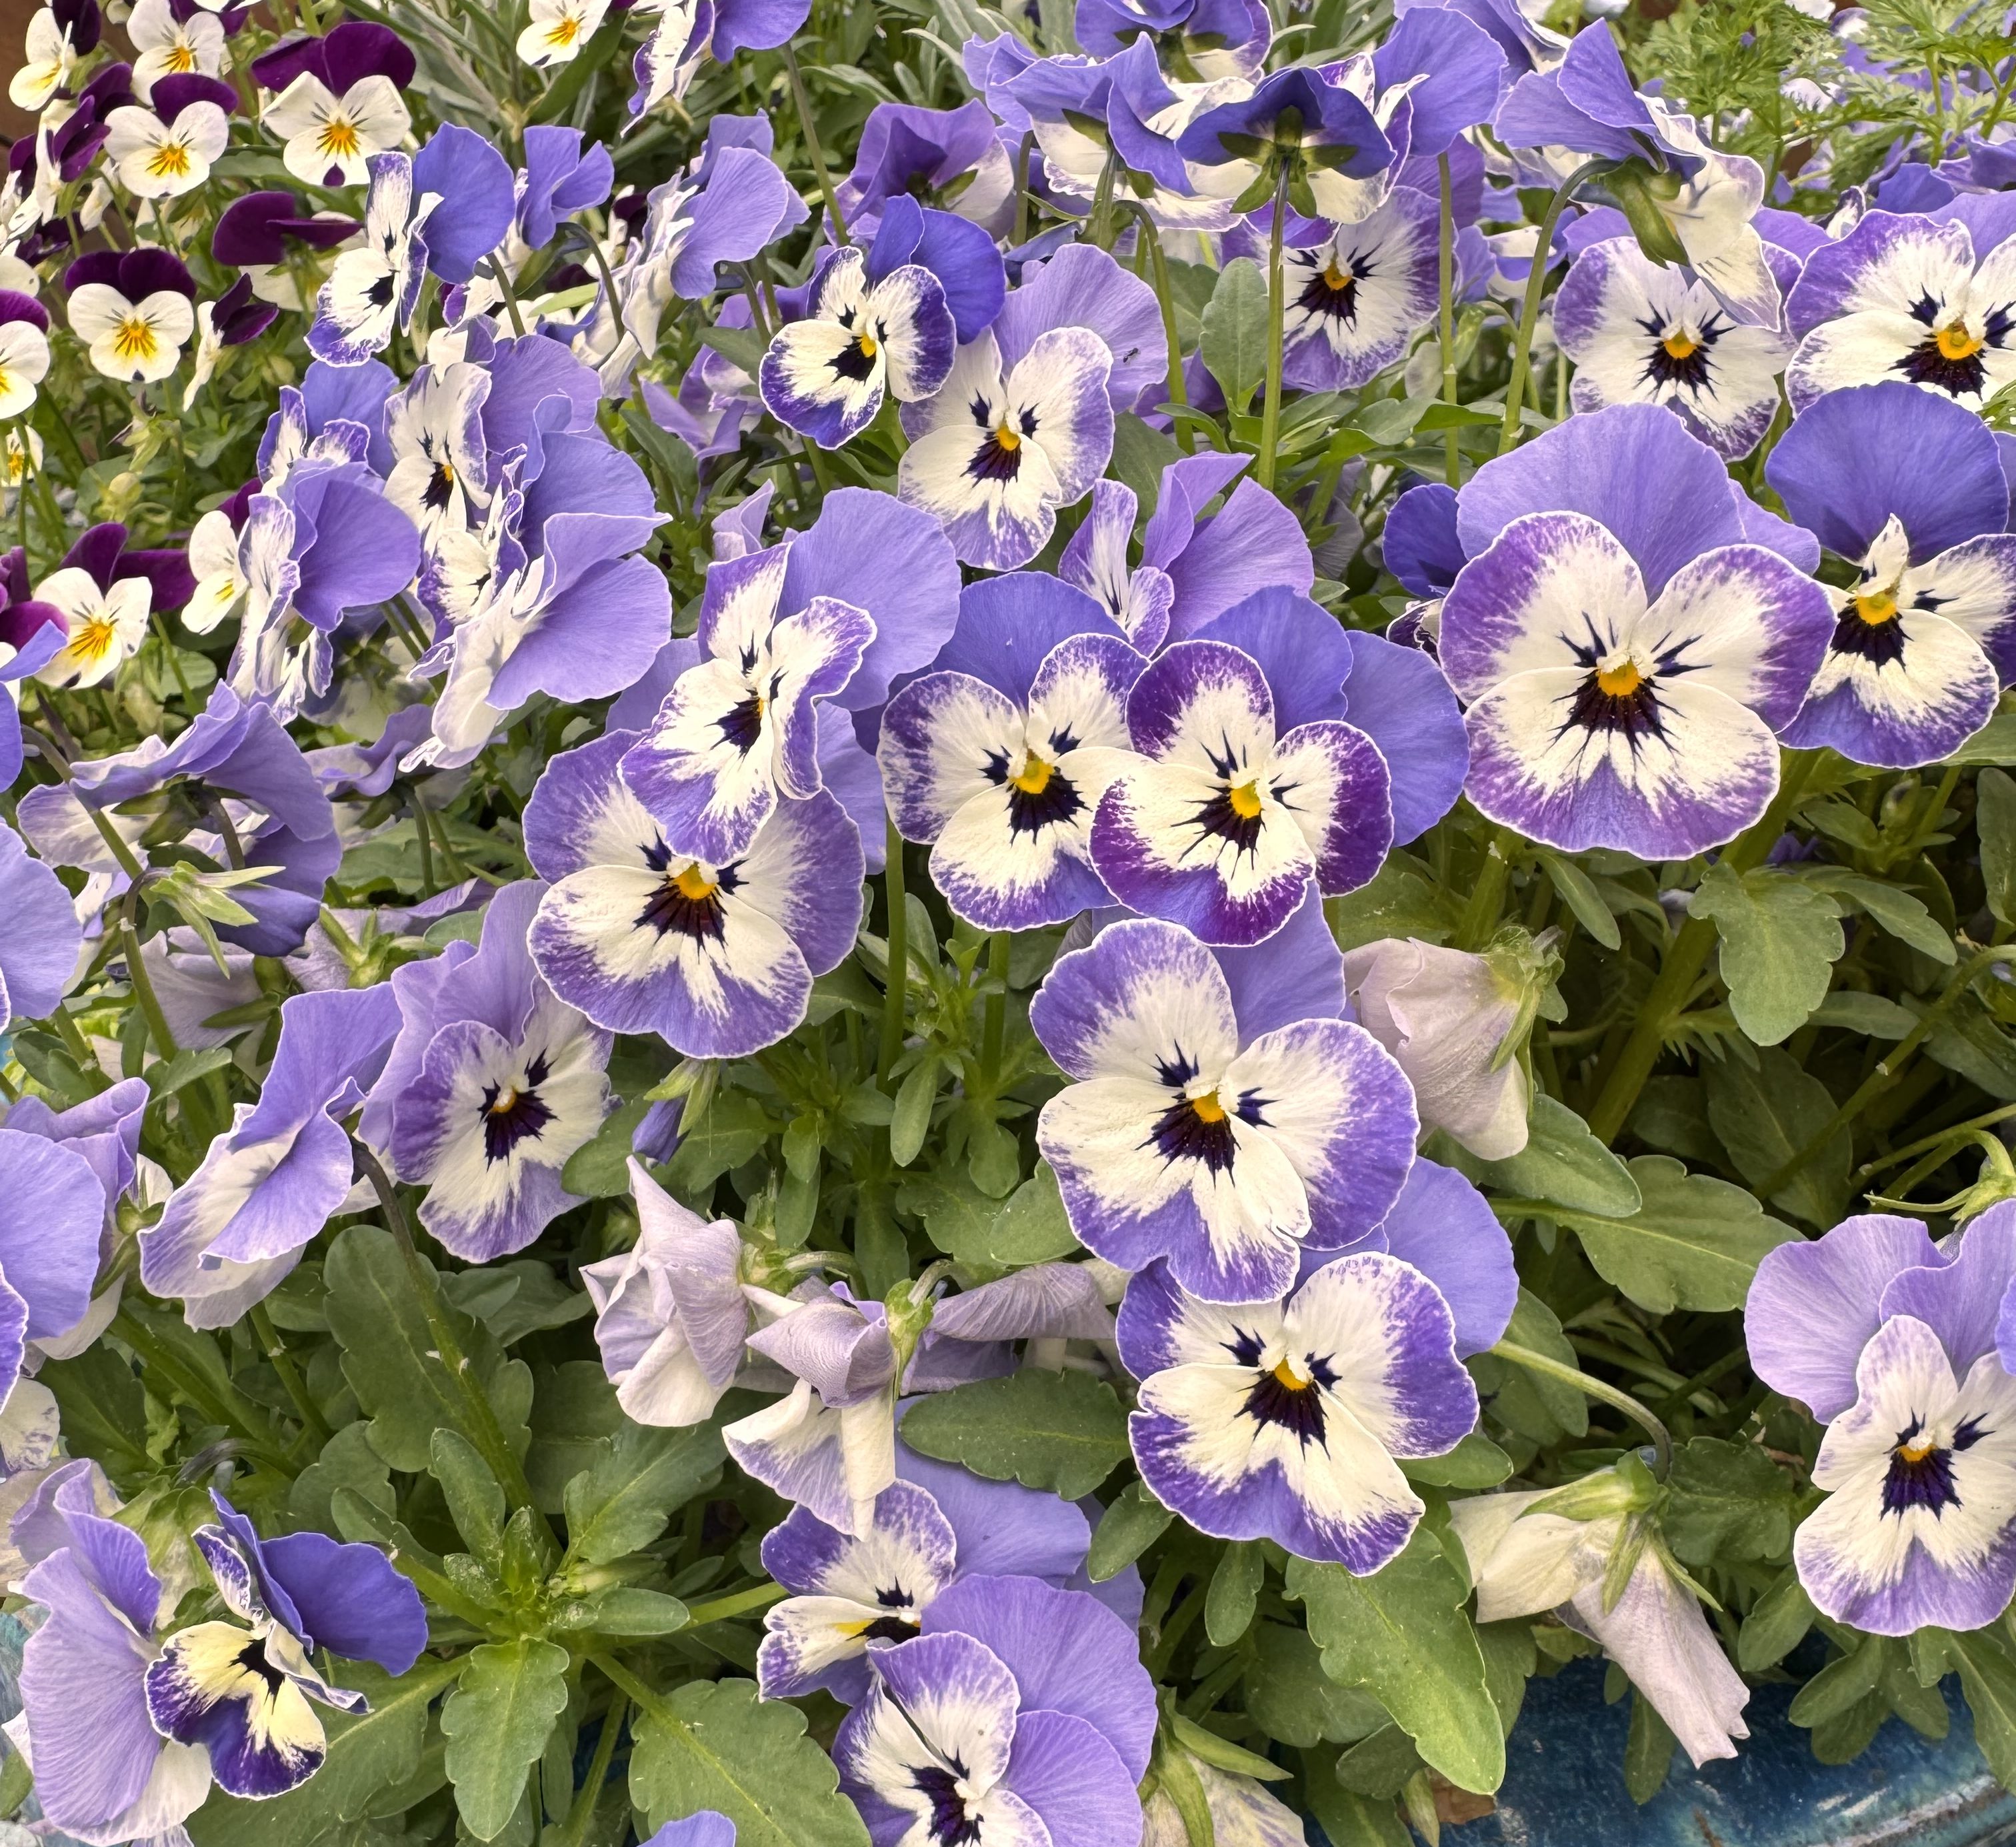
Pansies (Viola x wittrockiana) start blooming in late fall ithrough winter and into the cool part of spring.
Spring-flowering bulbs should be planted this month. They need a period of cold before sprouting.
Peonies can be planted/transplanted now.
If you are not planting a fall veggie garden, consider planting a cover crop such as red clover (Trifolium pratense) or winter rye (Secale cereale). These plants are nitrogen-fixing (they add nitrogen to the soil) and can be tilled into the garden in the spring. Win, win, win.
Do you have a cold frame? Now is the ideal time to plant a salad garden to keep you in greens all winter. Leaf lettuces, green onions, spinach, radishes & carrots will keep you eating healthy ’til spring.
PRUNING
Wait until after a killer frost (which used to come in October, but may no longer arrive until November. Climate change. Adapt or find a good therapist.).
After said frost, it will be time to finish cleaning out the perennial garden. Cut them back to an appropriate height, which may be all the way to the ground. Some plants have a “best” height, and sometimes you get to decide (or guess).
Root-prune any shrubs or trees that you want to move in the spring.
SPRAYING
Hopefully, by now most of the pests have gone into overwinter mode. There are a couple that you can still battle with.
Lace bugs, especially on azaleas and pyracantha, can be active all winter whenever the leaf-surface temperature suits them. The other treatable pests are the scale insects found most often on euonymus and camellias, though they will occasionally find other plants to their liking. I had some on a Japanese maple (Acer palmatum) in a previous garden.


From left to right:
Azalea lace bugs ( tephanitis pyrioides) are aggressive sucking insects that cause leaf stippling or blotching. Left: Tea scale (Fiorinia theae), a common sap-sucking insect that attacks camellias, hollies, and related plants. Image credit: Blake Layton, Mississippi State University
Both of these pests can be treated with a horticultural oil that will smother all the stages of their life cycle.
PROPAGATION
Are you starting new plants from cuttings? Be sure to check them at least twice a month for overall health and vigor. Water as needed. (That’s PRN for the medical gardeners out there.)
If you are one of the fortunate few with a rhubarb patch, now is a good time to divide the plants. It really prefers colder climes than USDA Zone 7. Rhubarb is a favorite in this house, but ain’t no way we’re movin’ north far enough to grow it. Been there. Done that and did NOT get the T-shirt.
OTHER FALL-APPROPRIATE OUTDOOR ACTIVITIES
Besides snow skiing and outdoor ice hockey, what isn’t appropriate for a delightful October day?
OK, I’ll limit the list to gardening activities (mostly).
- Make a compost pile out of the inevitable leaf collection in your yard. The landfill doesn’t need them.
- GET A FREE SOIL SAMPLE NOW! There is a monetary charge for them between November and April.
- Clean and fill bird feeders.
- Clean out any unoccupied birdhouses to get them ready for winter borders.
- Dig up tender summer-flowering bulbs (gladiolas, dahlias, caladiums, etc.) and store them in a cool, dark place where random rodents can’t access them.
- Clean and lubricate lawn and garden equipment that won’t be used again until next season.
- Go for a hike in the woods. The Eno River is especially lovely in the fall.
- Fire pits and s’mores come to mind. (I said mostly garden stuff.)
- Find some kids and carve pumpkins (around the fire pit with s’mores and hot chocolate).
- Enjoy the crispness of October ’cause it’ll be cold soon.
Happy October, y’all!
Resources and Additional Information
Edited by Marcia Kirinus, NC State Extension Master GardenerSM volunteer of Durham County