
By Gary Crispell, NC State Extension Master GardenerSM volunteer of Durham County


BOLO (be on the lookout) for early spring bloomers including star magnolia (Magnolia stellata), daffodils (Narsisus spp.) perhaps covered in late snow or bathed in warm sunshine, and the Eastern redbud (Cercis canadensis). (Image credit: Melinda Heigel)
March: noun, the third month of the Julian calendar, verb from middle French meaning to trample. It appears that boots (not jack) might be in order.
By the time Y’all read this winter may be gone—or not. The weather pattern may have changed to a drier more user-friendly one—or not. We might be able to get out and work in our gardens—or not. It might snow another 3 or 6″ to complement the already prodigious amount we’ve received. Welcome to piedmont North Carolina in the spring where we beg for more/less rain, sunshine, wind, whatever we don’t currently have and decry perceived excesses of anything. Gardeners can be a needy lot, but there is always hope. We are nothing if not hopeful and optimistic. We KNOW it (whatever “it” is) will get better and things will be just fine.
So, here are the things that can/should be done in the garden in March depending on all the things in the earlier paragraph. Happy gardening!
Lawn Care
(Image credit: NC State Extension)
Cool season grasses (tall fescue, bluegrass, perennial rye) can be fertilized with a slow release high nitrogen (the first number) fertilizer.
Apply preemergent weed control after the forsythia (Forsythia intermedia) blooms and before the native dogwoods (Cornus florida) bloom. (That there is real science.)
Commence mowing activities when needed (or when the mower no longer mires in the mud). Cool season grasses should be kept mown at 3” to 4.” Warm season grasses (zoysia, Bermuda, centipede) are still dormant. You get to play with them next month.
Remember, grass clippings should either be left on the lawn, composted, or used for mulch. They don’t belong in the landfill.
Fertilizing
Feed your shrubbery this month. Established plants do not need heavy fertilizing. Let “moderation in all things” be your mantra. Shade trees can be fertilized now, but only if your SOIL TEST (free again beginning April 1 through November) indicates a need.
Emerging bulbs can be fertilized this month. Fertilize asparagus beds early in March, before the new spears emerge.
Planting
As usual, everything in this section is dependent upon soil conditions.
Trees and shrubs may be planted now as well as fruit trees and grape vines up to bud break. Plants planted now will require more intentional water management through our oft droughty summer.
March is a good time to plant perennials.
Start annuals and warm season vegetables inside now if you haven’t already done so. These can be transplanted outside after the threat of frost has gone. (No bets on that date anymore.)
Rose bushes can be planted now.
The same veggies that can be planted in the fall can also be planted now (unless, of course, you are sick to death of broccoli and beets). These include the aforementioned broccoli, beets, carrots, cabbages, cauliflower, potatoes and turnips. Then there are the salad greens, lettuces, spinach, chard, etc. So, in May it’ll be salad and roasted root vegetables for supper?
Pruning
Prune any fruit trees that didn’t get done in February.
Deadhead any early spring annuals such as pansies (Viola x hybrids) as the blooms fade in order to prolong bloom time.
Roses can be pruned in the latter half of the month.
Overgrown broadleaf shrubs can still be severely whacked. (No, it won’t kill them, and they be much more manageable—for a while.)1
Spraying
The following miscreant pests will be out and about this time of the year: euonymus scale, spider mites on evergreens, hybrid rhododendron borers, and lace bugs on azaleas. Spray only as necessary with an appropriate product and always read and follow label directions.
Apply a dormant oil to fruit trees to control several insects. This is especially important if you have just pruned the trees.
When in bloom, spray apple and pear trees with streptomycin to prevent fire blight.
Other Swell Stuff You Can Do in March
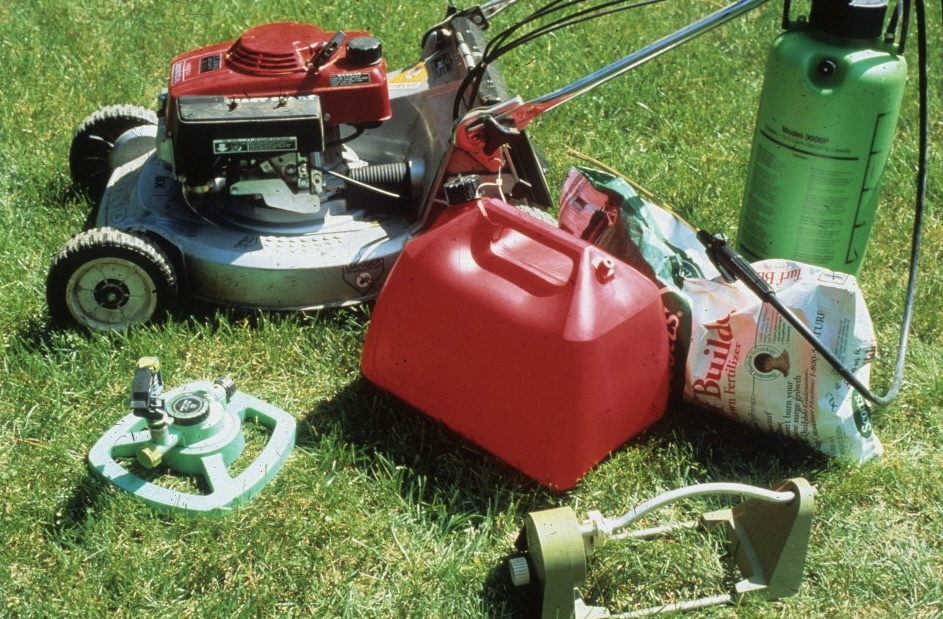
Get ready for prime time. Check all your gardening equipment and make sure it will be ready to go when you need it. Nothing is more frustrating than being all psyched up to mow the grass (I have heard there really are people for whom this is a reality) only to discover that the starter battery is dead, the blades need to be sharpened, all the tires are flat, the belt that broke last fall didn’t fix itself over the winter, all the things. Check all the garden gizmos now and prevent a possible psychotic break later.
Try experimenting with a new annual, perennial or veggie this season. Experimenting can be fun, and you might just discover a new BFF plant. Also, experimenting has been shown to have very few side effects.
North Carolina Arbor Day (not to be confused with National Arbor Day) is this month. It is always the first Friday after the 15th, ergo on the 21st this year. Plant a tree or seven.
Get a few of your summer clothes out of the attic but keep your heavy winter jacket close by. You could need both in the same day.
Mellow March, Y’all.
Notes
1–Keep in mind, many woody ornamentals are pruned according to their flowering date. Spring bloomers like dogwood or forsythia are usually pruned after they bloom. Summer-flowering plants are generally best pruned when dormant before new growth begins in the spring.
Resources and Additional Information
Learn more about organic lawn care: https://content.ces.ncsu.edu/organic-lawn-care-a-guide-to-organic-lawn-maintenance-and-pest-management
How to read a fertilizing label like a pro: https://hgic.clemson.edu/factsheet/reading-a-fertilizer-label
Spring vegetable gardening: https://content.ces.ncsu.edu/home-vegetable-gardening-a-quick-reference-guide
Read our blog article on year round vegetable gardening for early springtime tips: https://wp.me/p2nIr1-2F1
Pruning techniques for trees and shrubs: https://content.ces.ncsu.edu/general-pruning-techniques
Guide to cleaning and sharpening garden tools: https://bookstore.ksre.ksu.edu/download/how-to-clean-and-sharpen-garden-tools_MF3288
Article Short Link: https://wp.me/p2nIr1-5Eg


